


 SA-RIO-SW 01")


Automated Magazine Transferring Zalpha Extend with Lifter Conveyor
Overview A semiconductor manufacturer implemented Zalpha extended with conveyor lifter to transfer the IC trays from station to station to

Automated Pallet Transferring Zalpha Lowbed with Lifter
Overview A plastic pallet manufacturer installed Zalpha Lowbed with Lifter to transfer the pallets from production line to packaging station

Automated Pallet Jack Transferring Zalpha Standard with Towing Clamp
Overview A 3C manufacturing company requires automation solutions to transport their finish goods from production to packaging stations with minimum

DF Flags 10th Year with Robotic Celebration, Marking a New Milestone
JOHOR BAHRU, 17 June 2022 – DF Automation & Robotics Sdn Bhd celebrated its 10th year anniversary at Orchid Ballroom,
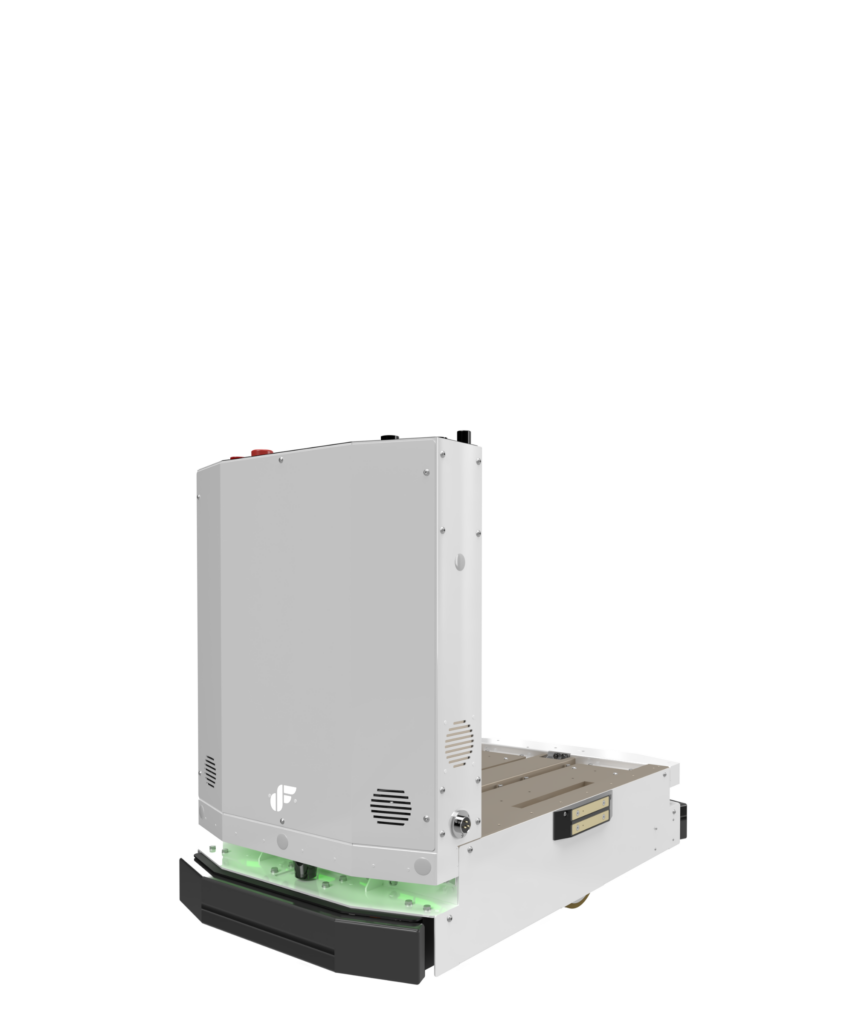
DF AGVs featured by Visual Components
AGVs and AMRs from DF Automation and Robotics are now available in Visual Components in their latest release on September

MOSTI and MTDC Visits DF Automation
On 30th of October, DF Automation has had the honour of having the Ministry of Science, Technology and Innovation (MOSTI)